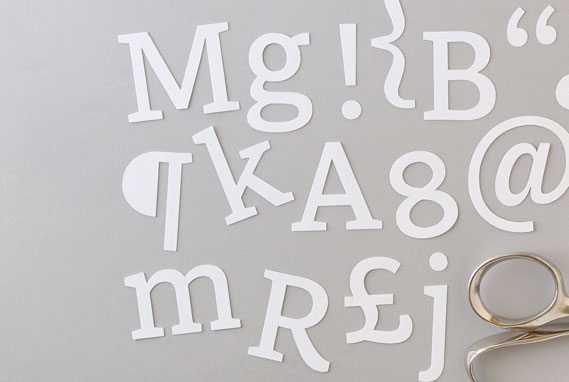
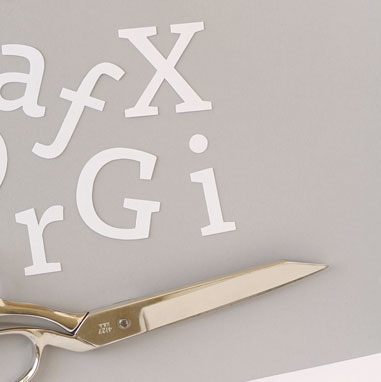
Font installation

System requirements for OpenType fonts

Macintosh: Mac OS X or later.

Windows: Windows 7, Vista, XP, or later.


Extracting files from .zip archives

Font files downloaded from MVB Fonts are in a compressed .zip archive and must be decompressed/extracted before they can be installed on your computer.

For Mac users, Stuffit Expander [http://www.stuffit.com/mac-expander.html] is a free utility for decompressing .zip archives.

For Windows users, 7-Zip [http://www.7-zip.org] is a free utility for decompressing .zip archives.

After decrompressing the .zip archive, follow the directions below to install the fonts on your computer.


Installing OpenType fonts in Mac OS X

1. Launch the FontBook application that comes with Mac OS X (typically found in the ‘Applications’ folder).

2. In the ‘File’ menu of FontBook, select ‘Add Fonts’. Navigate to where you saved the font files and select them. To select more than one font, press and hold down the SHIFT or COMMAND key while clicking on multiple font files. Now click on the ‘Open’ button.

You should now be able to see the fonts you have just installed listed alphabetically in the ‘User’ collection (find the Collection column on the left side).

You can also install fonts by dragging the font files into the “Fonts” folder that is inside the “Library” folder within your User Directory.


Installing OpenType fonts in Windows 7 and Windows Vista

To install a single font, simply right-click on the font file, selecting ‘Install’ from the menu.

If you are installing multiple fonts, use right-click on each font file, or use the Fonts Control Panel. To open the Fonts Control Panel:

1. From the ‘Start’ menu, select ‘Control Panel’ then select ‘Appearance and Personalization’.

2. Next, select ‘Fonts’.

3. Locate and select the font file(s) you wish to install. Drag and drop them into the Fonts Control Panel (where you see other font files listed).


Installing fonts in Windows XP

1. Open the Fonts Control Panel. From the ‘Start’ menu select ‘Control Panel’, then select ‘Appearance and Themes’.

2. Select ‘Fonts’ from the ‘See Also’ panel on the left.

3. In the ‘File’ menu of the Fonts Control Panel, select ‘Install New Font.’

4. Navigate to where you saved the font files you wish to add and select them. To select more than one font, press and hold down the CTRL key, while clicking on multiple font files. Then click the ‘OK’ button.